
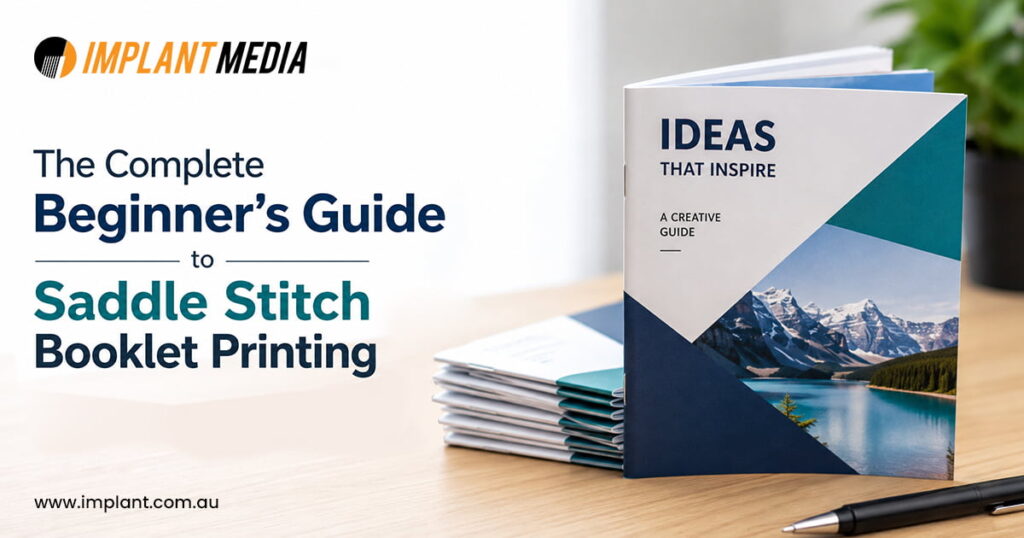
Walk into any book printing shop in Australia and ask about booklet options — saddle stitch will almost always come up first. Not because it’s the fanciest method, but because it genuinely works for most people and most budgets. If you’re new to printing and trying to figure out where to start, this blog is written for you.
What Exactly Is Saddle Stitch Booklet Printing
Saddle stitch booklet printing is when sheets of paper are folded together and stapled through the spine. That’s it. Two or three staples, a clean fold, and you’ve got a booklet.
The reason it’s so widely used comes down to a few things — it’s affordable, it produces quickly, and when the stock and print quality are good, the end result looks anything but cheap.
You’ll see this format used for things like:
- CD and vinyl record inserts
- Event programs and conference booklets Product catalogues
- Magazines and community newsletters
- Staff training guides
- Artist zines and portfolios
Why Do So Many People Choose Saddle Stitch Booklet Printing
There are other ways to bind a booklet including, perfect, wiro, and case binding — but saddle stitch remains one of the most popular choices for a reason.
For starters, it costs less to produce than most other binding methods. If you’re printing on a budget or ordering a short run, the cost savings can be substantial. It also moves through production faster, so if your deadline is tight, saddle stitch gives you a better chance of making it.
The other thing people don’t always expect is how professional it looks. Good stock, solid colour, clean trim — a saddle stitch booklet is something people actually hold onto rather than bin straight away.
One thing to keep in mind though: saddle stitch works best for booklets between 8 and 64 pages. Go beyond that and the spine starts to bulge, which doesn’t look great and can affect how the booklet sits. For anything thicker, perfect binding or wiro is worth considering.
The Page Count Rule You Need to Know Before You Start
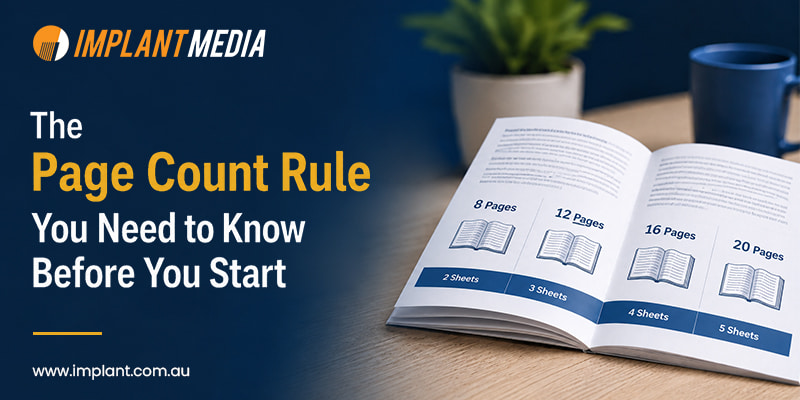
Here’s something that catches a lot of first-timers off guard: your page count must always be a multiple of four.
Each sheet of paper creates four page surfaces when folded. So your booklet has to land on 8, 12, 16, 20, 24 pages — you get the idea. If your content sits at 14 pages, you’ll need to either add two blank pages somewhere or rework your content to fill 16 pages.
Sort this out before you start designing. Trying to fix it at the end wastes time and can mess up your whole layout.
Picking the Right Paper Stock
Paper makes more of a difference than most people realise. Two booklets printed with the same design can feel completely different depending on the stock — one cheap, one quality.
Here’s a quick run through the main options:
Gloss coated —
Colours come out bright and sharp. Works well when your booklet is image-heavy, like a product catalogue or a music release.
Matte coated —
Softer on the eye, easier to read for longer text. A good call for guides, manuals, or anything with a more refined look.
Uncoated —
Has a natural feel to it. Popular with zines, independent publications, and anything that’s meant to feel a bit more raw or handmade.
If you’re unsure what to go with, ask your printer for samples. Seeing and touching the paper in person makes the decision a lot easier. At Implant Media, we’re happy to talk through stock options before you place an order — it’s a small step that makes a big difference to the final result.
Setting Up Your Artwork — What to Get Right
This is where most beginners lose time. Getting your files set up correctly before you send them to print avoids delays, reprints, and wasted money. Here’s what to focus on:
Page count first:
Before you open your design software, confirm your total page count lands on a multiple of four. Build your document around that number.
Work to your finished size:
Set your document to the final trimmed dimensions, not the flat sheet. Common saddle stitch booklet sizes in Australia are A5 (148 × 210mm), A4 (210 × 297mm), and DL (99 × 210mm).
Add your bleed:
Any background colour, photo, or graphic that runs to the edge of the page needs 3mm of bleed beyond the trim line. Without it, you’ll see thin white lines along the edges of your printed booklet. Not a good look.
Respect the safe zone:
Keep your text and anything important at least 3–5mm inside the trim line. The cutting process isn’t always pixel-perfect, and content sitting too close to the edge can get clipped.
Export as a print-ready PDF:
300dpi resolution, CMYK colour mode, fonts embedded or outlined. Send anything less than this and you risk the printer coming back to you for a new file — or worse, printing something that looks off.
Short Runs vs Larger Quantities
Not everyone needs 5,000 copies. Short run digital printing lets you order smaller quantities without paying through the nose for it — useful when you’re testing a design, printing for a one-time event, or working with a limited budget.
For bigger print runs, offset printing brings the cost per unit down and gives you more consistent colour across the whole job. Which option makes more sense for you depends on your numbers, your timeline, and how the booklet is being used.
Choosing a Printer That Actually Knows What They're Doing
The design might be yours, but the final product is only as good as the printer behind it. Stock quality, colour accuracy, trimming, binding consistency — these things separate a great result from a mediocre one, and they come with experience.
At Implant Media, we specialise in high-quality book printing services — from CD and vinyl booklets to catalogues, magazines, and independent publications. We work with businesses, artists, musicians, and first-time printers alike, and we’re always happy to walk you through the process before you commit to anything.